How to Put In Contacts for the First Time: A Calm, Step-by-Step Guide for Beginners
By Hapa Kristin Same-day Colored Contacts11 min read
To put in contacts for the first time, wash and dry your hands thoroughly, place the lens on your index fingertip, pull your lower lid down with your middle finger, look up, and gently place the lens on your lower white of the eye. Blink slowly to center it. Most beginners succeed within 5 to 10 minutes.
To put in contacts for the first time, wash and dry your hands thoroughly, place the lens on your index fingertip, pull your lower lid down with your middle finger, look up, and gently place the lens on the lower white of your eye. Blink slowly to center it. Most beginners succeed within 5 to 10 minutes. For example, imagine you are a content creator planning an Instagram Reel for Friday night and want to try a honey-amber lens to match your outfit and lighting. You schedule a quick 30-minute eye exam on Thursday afternoon, get your prescription, and pick up your first pair same-day from a reputable retailer. By Friday morning, after two practice insertions, you are comfortable enough to film, and by evening you have the shot ready to post with a completely transformed eye color that took you less than two minutes to apply.
What You Need Before You Put In Contacts
Before touching a lens, gather everything in one place. You need fresh contact lens solution, a clean lens case, and a lint-free towel. Check the blister pack or case for the expiration date and look for any damage to the seal. A torn or dented package means the sterility is compromised. Toss it. Trim your nails short before your first attempt. Long nails catch on soft lens material and can scratch your cornea. Work at a clean bathroom counter at eye level with good lighting, ideally facing a mirror that lets you see both eyes clearly. Never rinse lenses with tap water or use saliva as a shortcut. Water carries microorganisms that cause serious infections, and 99% of contact lens wearers report at least one hygiene risk behavior (contactlensupdate.com). Starting clean habits from day one protects you for years of wear.
Why a Prescription Matters Even for Cosmetic Lenses
The FDA classifies all contact lenses as medical devices, including decorative colored lenses that do not correct vision. Under the Fairness to Contact Lens Consumers Act, selling contacts without a valid prescription is illegal in the US. The FDA has flagged retailers selling decorative lenses illegally for as little as $20 (fda.gov), but low price does not mean safe. A prescription confirms your lens diameter and base curve match your actual eye measurements. Without that fit, lenses can restrict oxygen flow, cause corneal abrasions, or sit off-center all day. An eye doctor also screens for dry eye or astigmatism that affects which lens material works safely. Reputable brands, including Hapa Kristin, require a valid prescription at checkout for this exact reason. Your eye health is not worth skipping a 30-minute appointment.
How to Put In Contact Lenses: Step-by-Step Instructions
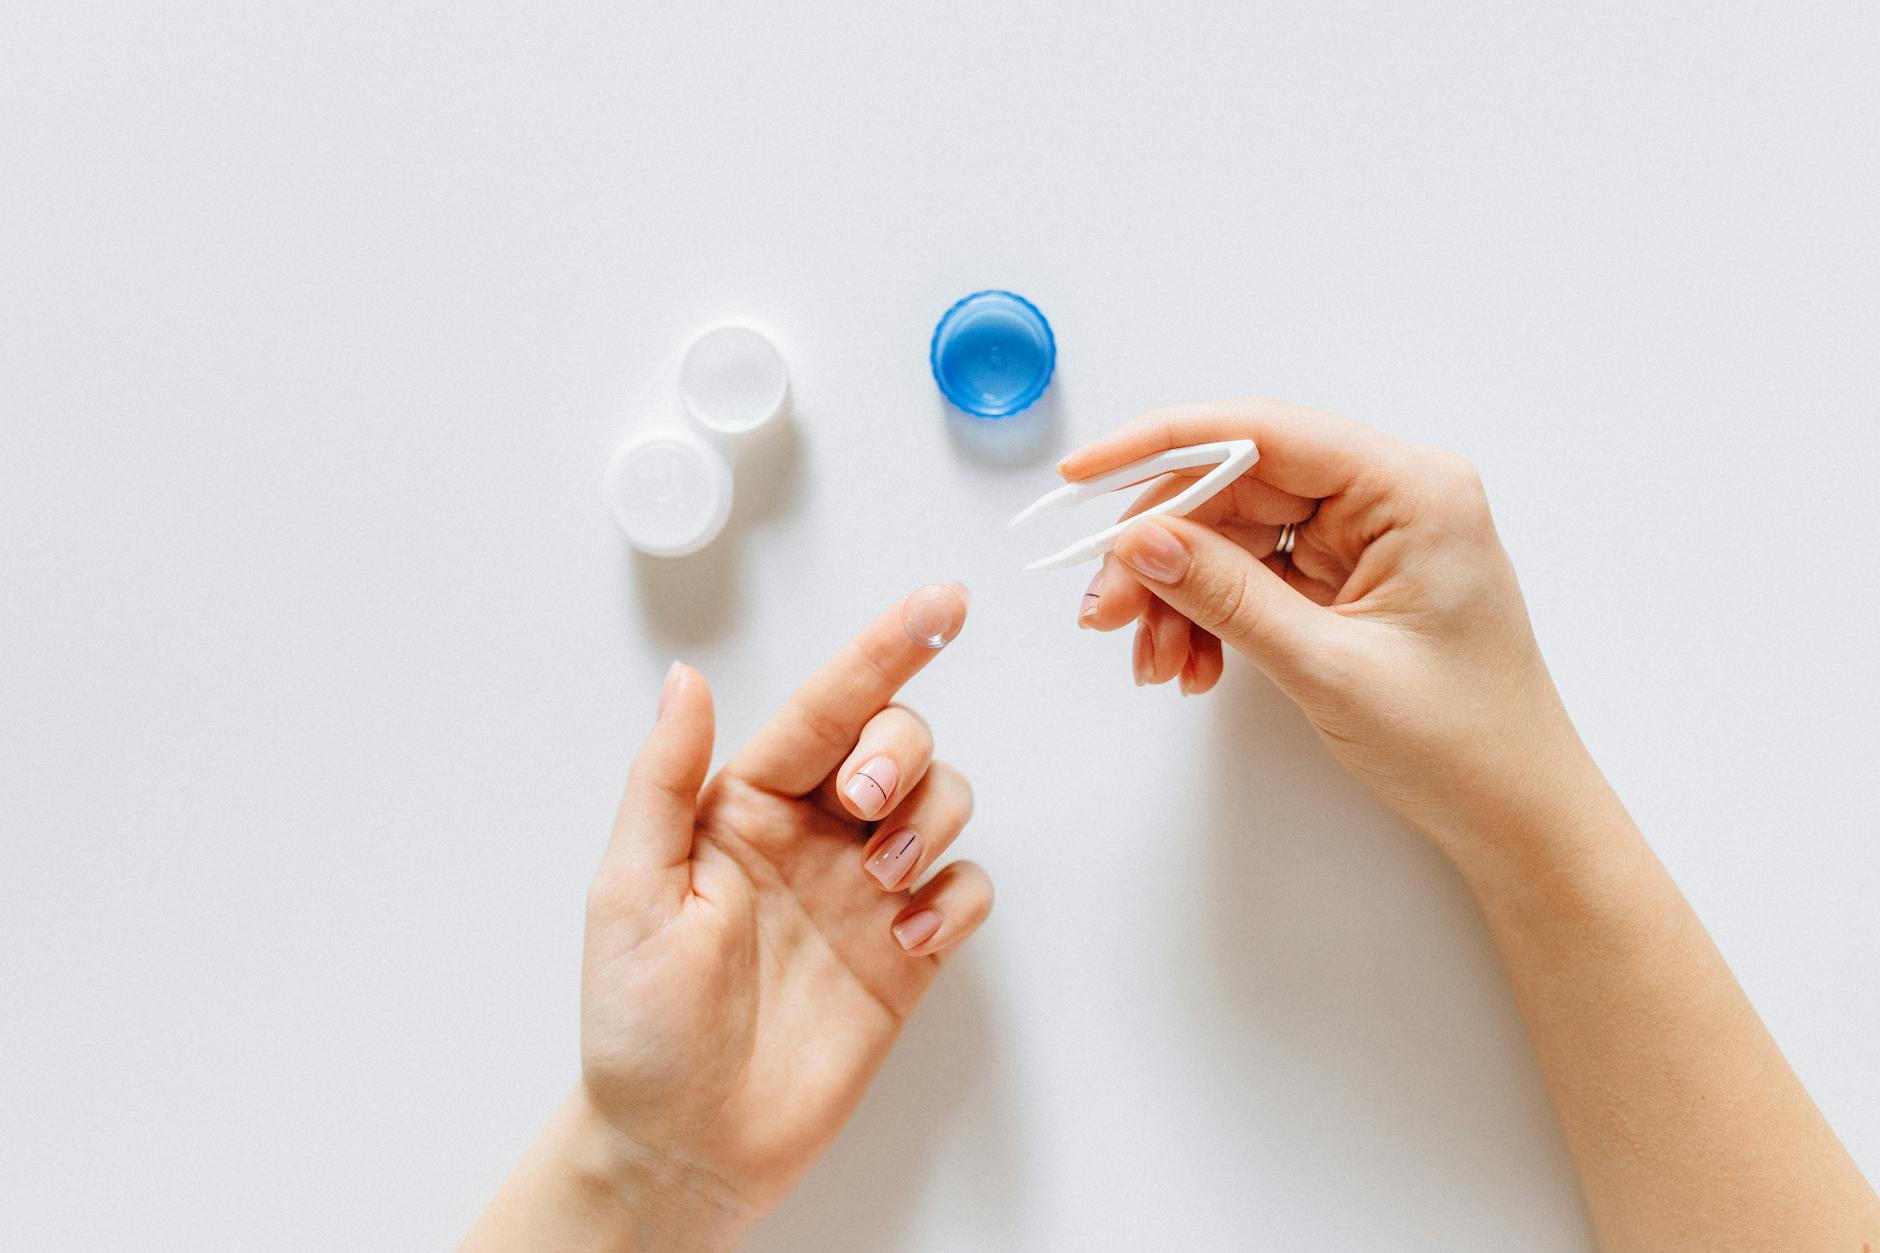
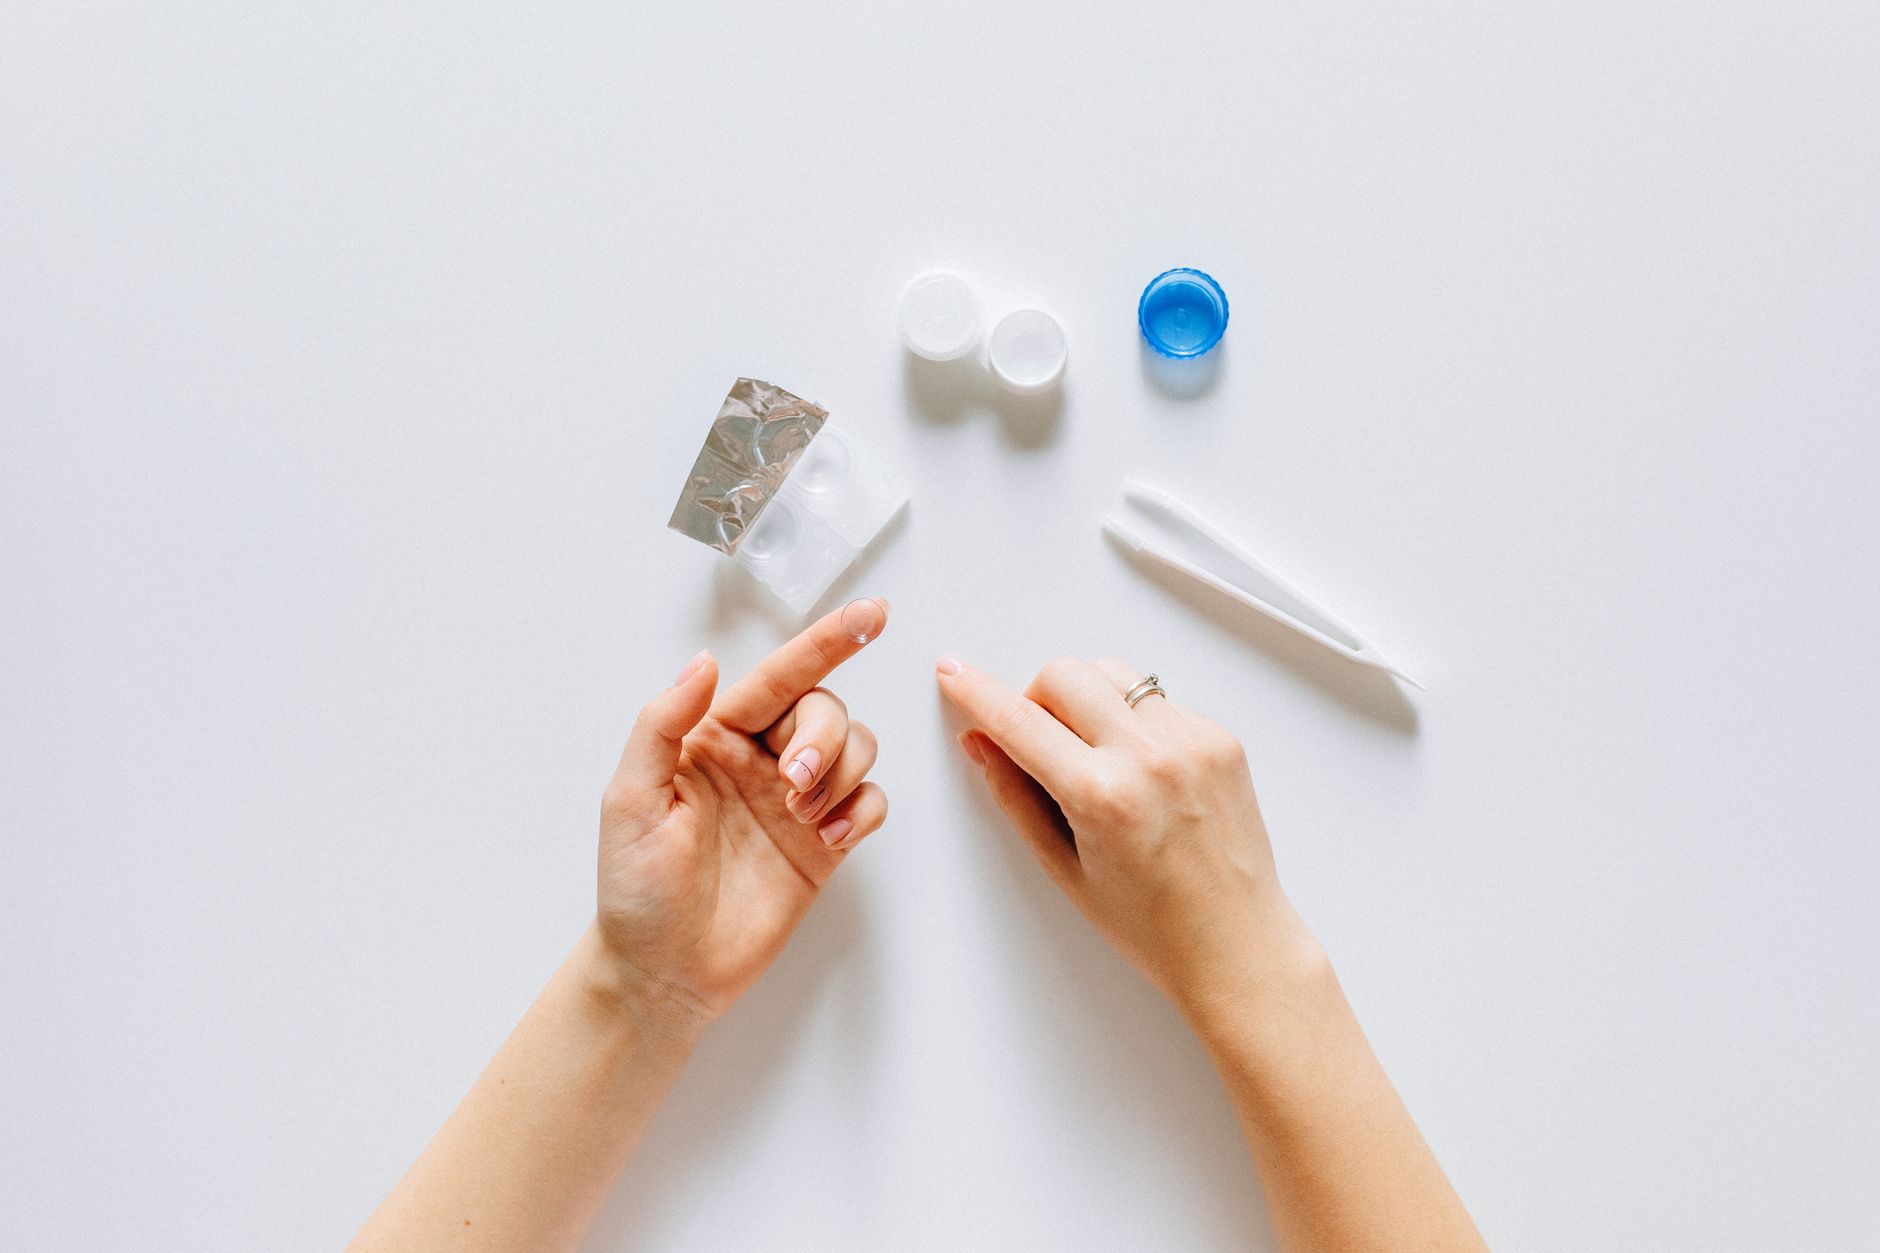
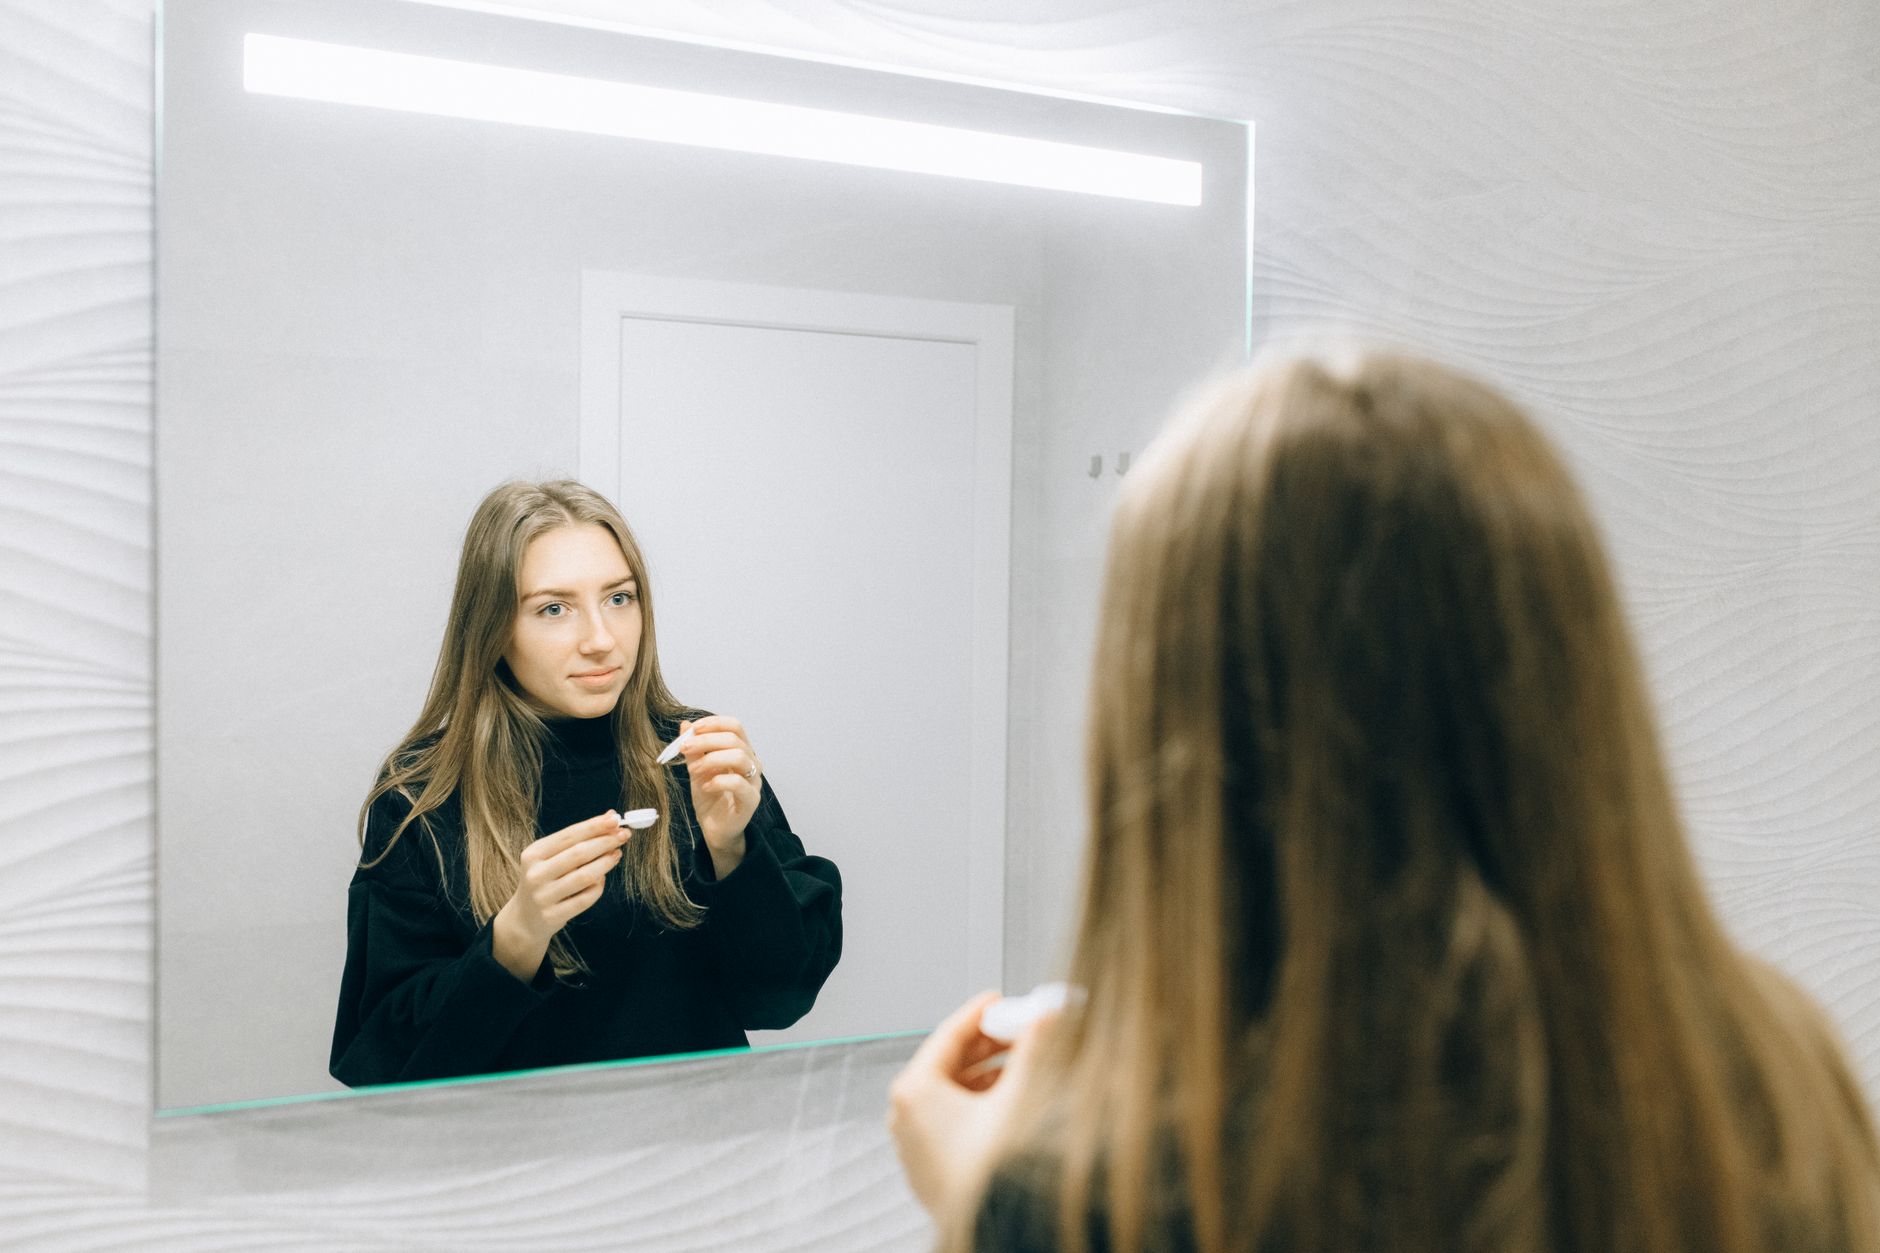
Hand washing is the single most important step. Use soap and water for at least 20 seconds, covering every surface including under your nails and between fingers. Rinse completely so no soap residue remains. Then dry with a lint-free towel. This detail matters. Fluffy cotton towels shed fibers that stick to soft lens material and end up on your eye. A clean microfiber cloth or a paper towel works well. Once hands are dry, remove the lens from its case or blister pack and balance it on the tip of your dominant index finger. The lens should hold its cup shape. Check it at eye level: a correct lens looks like a smooth bowl. If the edges flare outward like a taco shell or soup plate, it is inside out. Flip it gently. Some lenses carry a 1-2-3 laser marking that reads correctly only when the lens is right-side out.
Before placing the lens, inspect it carefully. Look for tears along the edge, cloudy deposits, or dirt. A torn lens goes in the trash. A dirty lens gets rinsed with fresh solution, not water. Never try to fix a torn lens by trimming it. Place the lens back on your dry fingertip and approach the mirror. Use your non-dominant hand's middle finger to pull your lower eyelid down, and use another finger to hold your upper lid open against your brow bone. Look slightly upward or straight ahead. Bring the lens slowly toward the lower white part of your eye (the sclera, not the iris). Hesitation triggers your blink reflex, so commit to a steady, calm approach.
Placing the Lens and Settling It In
Gently rest the lens on the lower sclera. Do not press it in. Pressure squeezes out the tear film that helps the lens center naturally. Just let it rest there, then slowly release your eyelids and close your eye gently. The lens will float into position. Open your eye and look up, down, left, and right in sequence. These directional eye movements help the lens settle over your iris and push out any air bubbles trapped underneath. Blink a few more times until your vision clears. If you see a blur at the edge of your field of vision, the lens has drifted slightly. Look toward the blur, then blink. This repositions it without using your fingers. Mild awareness of the lens is normal in the first few minutes. Pain is not normal. At Hapa Kristin Same-day Colored Contacts, we recommend removing the lens immediately if you experience any discomfort, as this signals a fit or hygiene issue that needs attention. A sharp or burning sensation means the lens may be inside out, damaged, or contaminated. Remove it immediately and start over with a fresh lens.
What to Do If the Lens Keeps Folding or Sliding Off Your Finger
Too much solution on the lens makes it collapse and slide. Shake off excess solution so the lens is moist but not dripping. Make sure your fingertip is dry before balancing the lens on it. Some beginners find it easier to rest the lens across two fingertips instead of just one tip, which gives the lens a broader, more stable platform. Practice holding your eyelids open separately before attempting a full insertion. Stand at the mirror and hold your lids apart for 10 seconds without blinking. This trains the reflex. Slow your approach speed. Moving toward your eye quickly triggers a protective blink every time. A steady, deliberate pace gives your nervous system a chance to accept the contact rather than reject it.
How to Take Out Contact Lenses Safely
Removing lenses gets less attention than insertion, but it is just as critical. Wash and dry your hands first, same as for insertion. Look upward and use your index finger to slide the lens down from the center of your eye to the lower white. Never drag a lens directly off your cornea from the center position. The cornea is your eye's most sensitive surface. Once the lens is on the lower sclera, gently pinch it between the pad of your index finger and thumb and lift it away. Keep nails short or use only the soft fingertip pad to avoid corneal scratches. If the lens feels stuck or dry, apply one or two drops of preservative-free rewetting drops and blink gently before trying again. Forcing a dry lens off causes micro-abrasions that invite infection.
Always remove lenses before sleeping unless your eye doctor has specifically prescribed extended-wear lenses. Across the US, 50% of contact lens wearers report sleeping in their lenses (contactlensupdate.com), which significantly increases infection risk by reducing oxygen reaching the cornea overnight. Place removed lenses into a clean case filled with fresh solution. Never top off old solution with new. Dump, rinse, and refill. Discard daily disposable lenses after one use. Re-wearing a daily lens introduces bacteria concentrated from the previous wear session. If you cannot locate a lens in your eye, do not attempt removal without consulting an eye care professional first.
Contact Lens Care Habits Every First-Timer Should Build
Compliance with contact lens hygiene recommendations ranges from 40% to 91% noncompliance across wearers (reviewofcontactlenses.com), which means the majority of wearers take at least one shortcut that puts their eyes at risk. Build strong habits from the start. Use only fresh multipurpose or hydrogen peroxide-based solution. Hydrogen peroxide systems require a neutralizing case and a full six-hour soak cycle. Do not skip the soak time. Rub your lenses gently in your palm with a few drops of solution before soaking, even if the bottle says "no-rub." The mechanical action removes deposits more effectively than soaking alone. Replace your lens case every one to three months. Biofilm builds on the inner surfaces of cases regardless of how often you clean them.
Never wear contacts while swimming, showering, or using a hot tub. Fresh and salt water both carry Acanthamoeba, an organism that causes Acanthamoeba keratitis, a corneal infection that is extremely difficult to treat and can cause permanent vision damage. The cosmetic colored lens category is growing fast, with the global market estimated at USD 1.5 billion in 2025 and projected to reach USD 2.9 billion by 2035 at a CAGR of 7.1% (gminsights.com), which means more first-time wearers need this information every year. Schedule an annual eye exam even after your first prescription is active. Your eyes change, and so does the fit you need.
How Long Can You Wear Colored Contacts in One Day?
Most cosmetic colored lenses are approved for 8 to 12 hours of daily wear, but first-time wearers should start with 4 to 6 hours and add one to two hours per day over the first one to two weeks. This gradual build gives your corneas time to adjust to reduced oxygen permeability. Colored lenses have a tinted printing layer that slightly restricts oxygen flow compared to clear lenses. Wear time discipline matters more with colored contacts than with standard clear lenses. Watch for redness, dryness, blurred vision, or a gritty sensation. Any of these signals means remove the lenses immediately, give your eyes a break, and use rewetting drops. At Hapa Kristin, we hear from new wearers frequently who push to 12 hours on day one and wonder why their eyes feel irritated. Our team has found that respecting the gradual adjustment timeline is the difference between comfortable all-day wear and abandoning contacts altogether. The adjustment timeline is real. Respect it and you will be wearing comfortably all day within two weeks.
Choosing Your First Pair of Colored Contacts as a Beginner
The global cosmetic contact lens market holds North America at 36.9% of global market share (gminsights.com), which reflects just how many people in the US are already rotating colored lenses the way they rotate lipstick shades. Choosing your first pair comes down to two factors: skin undertone and natural eye color. Warm undertones (golden, peachy, or olive complexions) pair best with honey, hazel, warm brown, and amber lenses. Cool undertones (pink or bluish undertones) complement grey, violet, blue, and cool hazel shades well. Start with a color close to your natural eye color for the most flattering, believable result.
Dark brown eyes need lenses with a dense, opaque pigment layer to actually show the color change. Translucent or enhancement lenses will not alter a dark base color visibly. Look for multi-tonal printing patterns that layer color the way makeup layers pigment, rather than a flat opaque disc that looks artificial. Hazel, warm honey, and chestnut tones blend most naturally with dark irises. Grey and blue create a striking contrast that photographs dramatically, which makes them popular for content creation. Prioritize lenses with a high oxygen permeability (Dk/t value) for all-day comfort as a new wearer. Ask your eye doctor for a trial lens before committing to a full box. We recommend this step especially with colored lenses, since the visual impact and comfort can vary significantly between brands and designs. A trial confirms both comfort and fit before you invest in a full supply.
| Feature | Enhancement Lenses | Opaque Colored Lenses |
|---|---|---|
| Best for | Light eyes (blue, hazel, grey) | Dark eyes (brown, black) |
| Color change effect | Subtle, enhances natural color | Full color transformation |
| Opacity | Translucent tinted layer | Dense pigment layer |
| Natural look at close range | Very natural | Depends on pattern quality |
| Oxygen impact | Minimal | Slightly more restriction |
| Best use case | Everyday wear, office | Events, content shoots, bold looks |
Hapa Kristin designs account for dark eye pigmentation by using multi-tonal printing that layers color depth, rather than a single flat opaque ring. The same-day availability means a beginner in the US can pick up a first pair without waiting days for shipping, which matters when you want to test a new color before a shoot or event. Consider starting with the best colored contacts for beginners in a natural shade, then building your collection as your comfort with insertion and removal grows.
Frequently Asked Questions
Is it safe to put in contact lenses for the first time without help from a doctor?
You need a valid prescription from an eye doctor before wearing any contact lenses, including cosmetic ones. The FDA requires this for all lens types. Once you have a prescription confirming the correct lens diameter and base curve for your eyes, self-insertion is safe and normal. Your eye doctor or optician will often walk you through your first insertion in-office.
How long does it take to get used to wearing contacts?
Most first-time wearers feel comfortable with insertion and removal within one to two weeks of daily practice. Wear time tolerance builds gradually. Start at 4 to 6 hours daily and add time each day. By two weeks, most beginners reach a full 8 to 12 hour day comfortably. The blink reflex and initial awareness of the lens both diminish quickly with consistent practice.
What happens if I accidentally put a contact lens in inside out?
An inside-out soft lens is not dangerous, but it will feel less comfortable, may move around on your eye, and your vision may be slightly off. Remove it, rinse with fresh solution, check the orientation by viewing the edge profile against a light, and reinsert correctly. Some lenses have laser markings that confirm correct orientation. No lasting eye damage results from a brief inside-out insertion.
Can I wear colored contacts if I have never worn lenses before?
Yes, but you still need a valid contact lens prescription from an eye doctor, even if the lenses are purely cosmetic and non-corrective. The prescription confirms your lens base curve and diameter fit your eye correctly. Starting with colored contacts as your first pair is completely fine. Choose a beginner-friendly colored contact with high oxygen permeability and start with shorter daily wear sessions while your eyes adjust.
Why does my eye keep blinking when I try to put in a contact lens?
Blinking is a natural protective reflex. It triggers when anything approaches your eye quickly or unexpectedly. Slow your hand speed down significantly on the final approach. Practice holding your eyelids open at the mirror for 10 seconds without blinking before attempting insertion. Holding the upper lid firmly against your brow bone also suppresses the reflex. Most first-timers see this improve dramatically after just two or three practice sessions.
Can I sleep in my colored contact lenses?
No. Most cosmetic colored contact lenses are daily wear only and must be removed before sleeping. Sleeping in lenses that are not prescribed as extended wear drastically increases your risk of corneal infection by cutting off oxygen overnight. Across the US, 50% of contact wearers report sleeping in lenses, which is one of the most common risk behaviors linked to serious eye infections. Always remove colored contacts before bed.
How do I know if my contact lens is actually in my eye or folded behind my lid?
Close your eye and gently roll your eyeball in a circle. If you feel the lens move or settle, it is still in your eye. Look in a well-lit mirror and check each area of your eye, including under both lids, by looking up and pulling down the lower lid. A soft lens can fold into the upper fornix but will not migrate behind your eye. Apply rewetting drops, blink gently, and it will usually reappear at the center of your eye.
Do I need a prescription to buy colored contacts in the US even if they do not correct my vision?
Yes. The FDA classifies all contact lenses as medical devices regardless of whether they have a corrective power. The Fairness to Contact Lens Consumers Act makes it illegal for any US retailer to sell contacts without a valid prescription. This applies to purely cosmetic colored lenses sold for eye color change. Retailers who sell without a prescription are operating illegally and carry serious risk for buyers.
What are some common mistakes beginners make when putting in contacts?
The most common mistakes include not drying hands fully before handling the lens, placing a wet or dripping lens on the finger so it collapses, using tap water instead of solution, not checking for inside-out orientation, blinking too quickly by approaching the eye too fast, and trying to press the lens onto the eye rather than letting it rest and settle naturally. Taking extra time on each step eliminates most of these errors.
How can I tell if my contact lens is inside out?
Balance the lens on your fingertip and hold it up to a light source at eye level. A correctly oriented soft lens forms a smooth bowl with edges that curve straight upward. An inside-out lens has edges that flare outward, like a soup plate or taco shell. Some lenses include a 1-2-3 laser marking on the edge that reads correctly only when the lens faces the right direction. When in doubt, the bowl shape test is the fastest check.
Are there any specific techniques to make inserting contacts easier?
Make sure your fingertip is dry before placing the lens on it. Hold the upper lid against your brow bone rather than just pinching lashes. Look slightly upward instead of directly at the approaching lens. Approach slowly and steadily since speed triggers the blink reflex. Place the lens on the lower white of the eye (sclera) first rather than aiming directly for the center, then let your eyelid release and blink to center it naturally.
How long should I practice inserting contacts before feeling comfortable?
Most first-time wearers achieve comfortable insertion within five to fifteen minutes on their first attempt and feel fully confident within one to two weeks of daily practice. The blink reflex diminishes noticeably after just two or three sessions. If you are still struggling after two weeks of consistent daily practice, ask your eye doctor or optician to observe your technique and offer personalized corrections. Technique issues are easy to fix once identified.
What should I do if my contact lens falls out immediately after insertion?
Pick it up carefully and rinse it thoroughly with fresh contact lens solution. Inspect it for tears, dirt, or debris before reinserting. If it looks damaged, discard it and use a fresh lens. A lens that falls out immediately usually means the eyelid was released too quickly before the lens had a chance to center, or the lens was placed too far to the side of the sclera. Slow down the eyelid release and let the lens settle for a full second before blinking.
Sources & References
About the Author
Hapa Kristin Same-day Colored Contacts
Hapa Kristin offers same-day colored contacts designed for every skin tone and style. Their curated collection lets beauty-conscious women change their eye color as easily as their makeup.
Related Posts
Colored Contacts You Can Try Before You Buy: The Rise of In-Store Lens Experiences
Shopping for colored contacts online is a gamble. In-store try-on experiences are changing that by letting you see exactly how a lens looks on your actual eye color and skin tone before you buy. Here is why this shift matters and what to expect when you walk into a lens boutique.
13 min read
Hapa Kristin vs Solotica: Price, Comfort, Color Range, and Natural Look Compared
Choosing between Hapa Kristin and Solotica comes down to more than price. This detailed comparison covers comfort, color payoff, natural appearance on different skin tones, availability, and what first-time wearers need to know before buying either brand.
12 min read

Same-Day Colored Contacts: Where to Walk In, Try On, and Walk Out With New Eye Color
Changing your eye color no longer means waiting a week for a shipping box. Same-day colored contacts are available at select optical retailers, beauty-focused lens studios, and licensed eye care providers who carry in-stock cosmetic lenses. Here is exactly where to go, what to bring, and how to walk out with the look you want.
11 min read